For this demonstration, I will be preparing a Windows Server 2012 R2 Datacenter, 64-bit system for hosting Symantec Endpoint Encryption Management Server 11.0.1.

This demonstration also assumes that you have a compatible database already created for use with the product. System requirements and compatible versions of MSSQL can be found here:
http://www.symantec.com/docs/TECH224478
For the initial setup of the server before installation, follow the setup steps below:
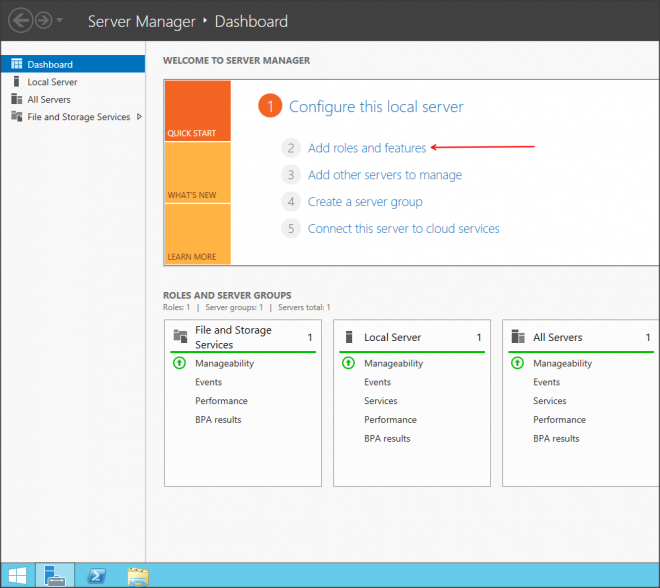
1. Open the Server Manager, and select “Add Roles and Features”.
2. Click “Next”.

3. Select “Role-based or feature-based installation” and click “Next”.

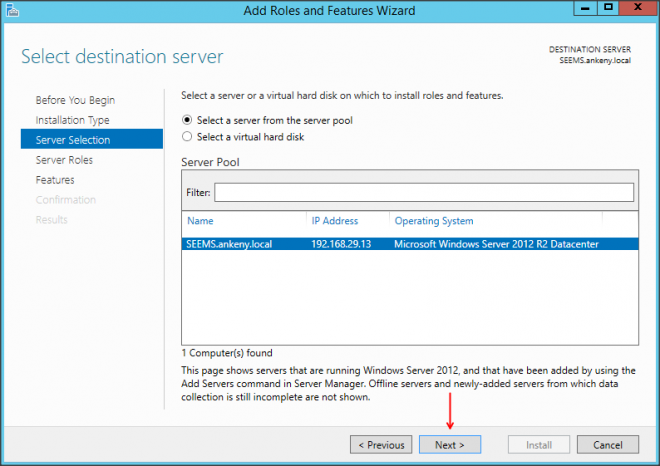
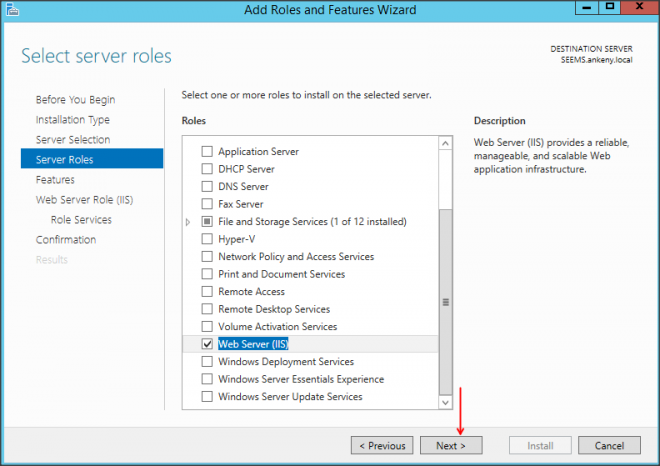
4. Select the server that will be hosting the Symantec Endpoint Encryption Management Server.
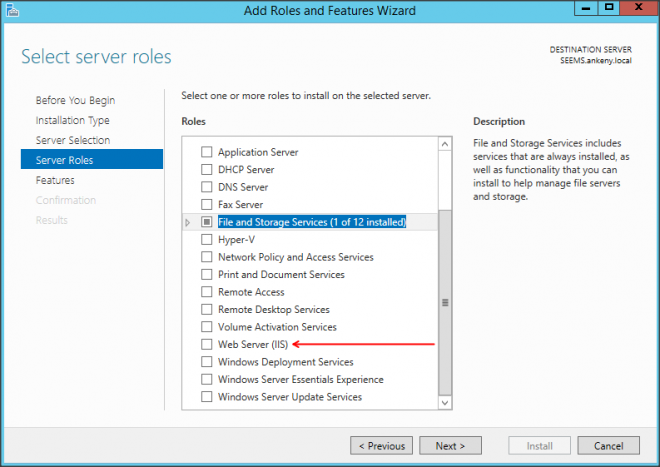
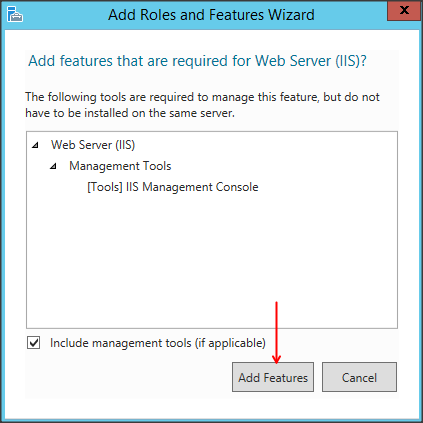
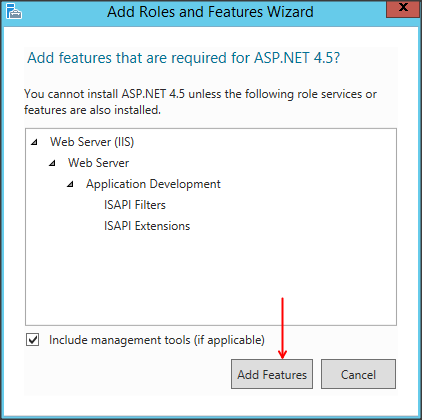
5. Select “Web Server (IIS)”. The Add Roles and Features window will pop up with some prerequisites. Leave them selected, and click “Add Features”.
6. Click “Next”.
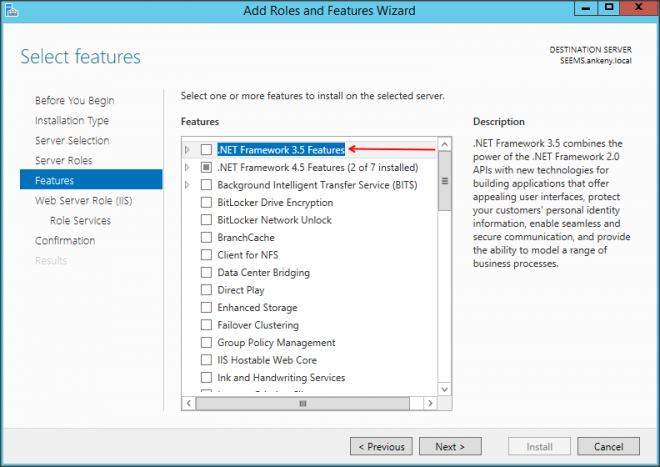
7. You will need to install .NET Framework 3.5 and 4.5. On previous versions of Windows Server, you will most likely have 3.5 installed by default, and need to get 4.5. On Server 2012, 4.5 is the default, and you can get 3.5 by checking the box as shown below. For Server 2008 or prior, you can download any needed .NET Framework here:
http://www.microsoft.com/en-us/download/search.aspx?q=.net%20framework
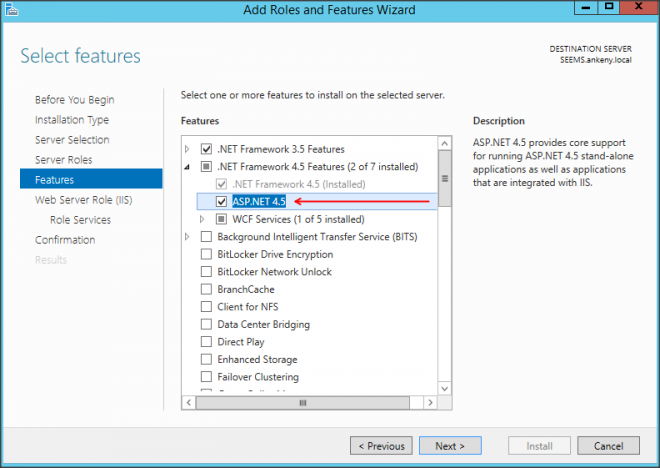
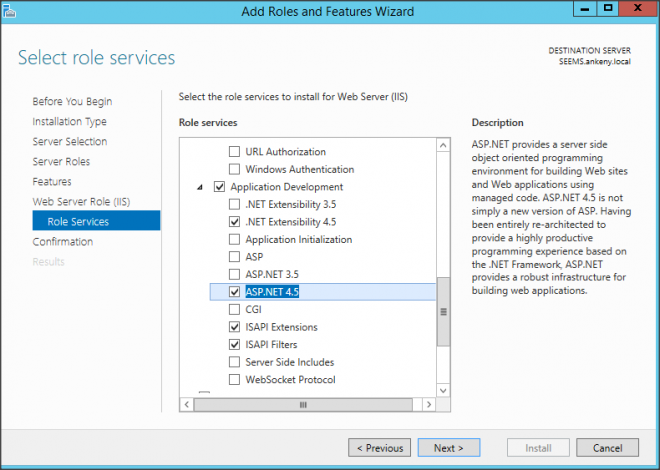
8. Expand .NET Framework 4.5 and check the box next to “ASP.NET” as well.
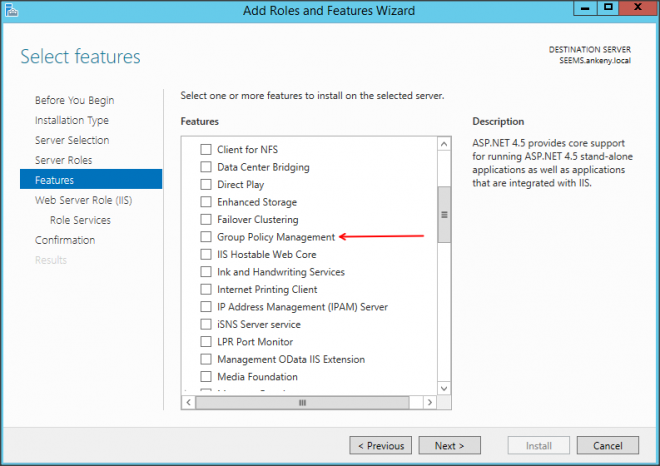
9. Scroll down and check the entry for “Group Policy Management”.
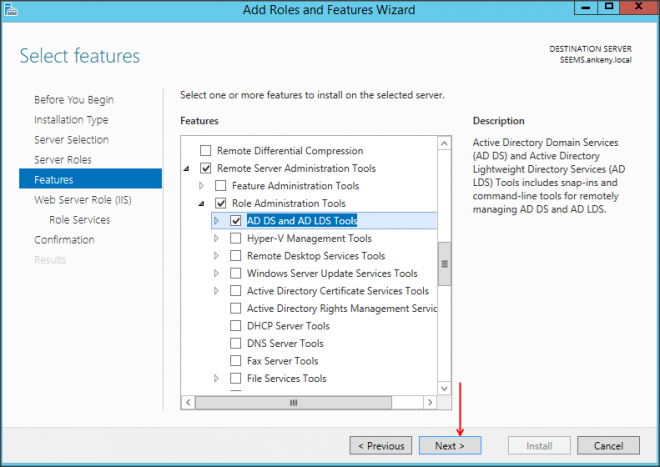
10. Continue scrolling down until you find “Role Administration Tools”. Expand it by clicking the arrow to the left of it, and check the box next to “AD DS and AD LDS Tools”. Then click “Next”.

11. On the next screen, click “Next”.

12. Expand the “Security” entry by clicking the arrow to the left, and check the box for “Basic Authentication”.

13. Expand “Application Development” by clicking the arrow to the left, and check the box next to “.NET Extensibility 4.5” and “ASP.NET 4.5”. The “Add Role Features” box will pop up. Leave all settings checked, and click “Add Features”.

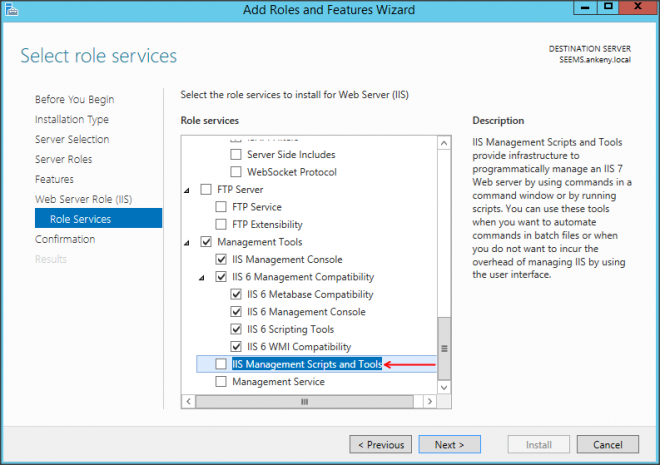
14. Scroll down to “Management Tools” and expand it by clicking the arrow to the left. Expand “IIS 6 Management Compatibility” by clicking the arrow to the left. Check “IIS 6 Management Console” and “IIS 6 Scripting Tools”. The “Add Roles and Features” window will pop up. Leave the settings checked, and click “Add Features”.


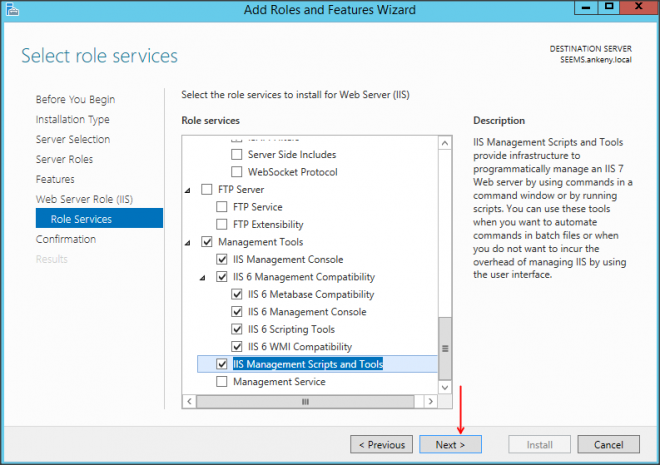
15. Check the box next to “IIS Management Scripts and Tools”, then click “Next”.
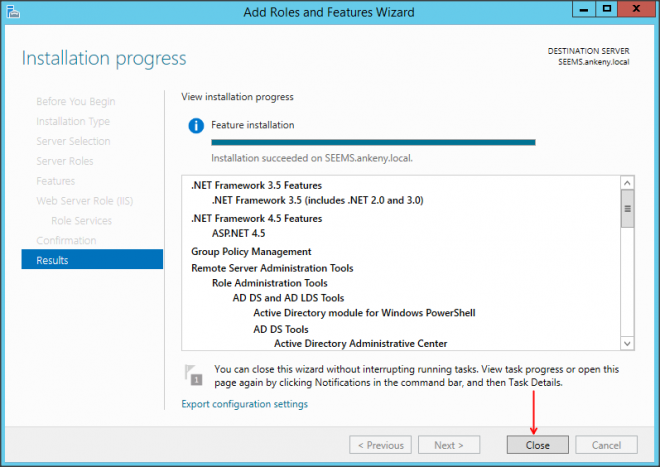
16. On the next screen, you will see a warning that not all installation selections have source files on the server. This is because it has to retrieve the .NET Framework 3.5 from Windows Update. Click “Install”.

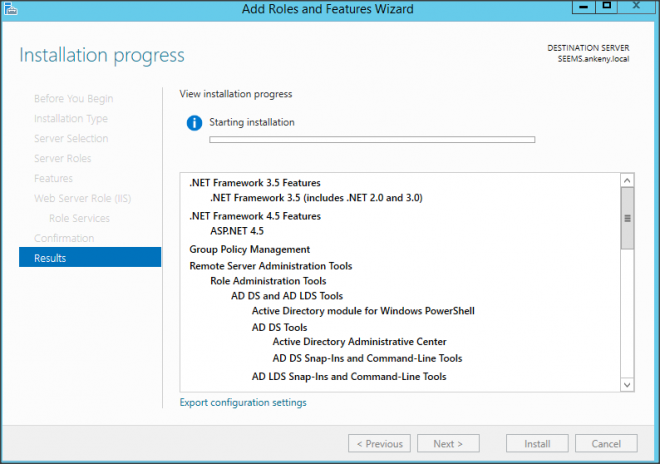
17. After the features and roles install successfully, click “Close”. You are now ready for the SEE Management Server installation.