One of the features of Ghost Solution Suite 3 is that the console installation automatically configures a PXE (Preboot Execution Environment) server. This allows machines to boot into automation without physical boot media, just a network connection. This is primarily used by the console for console based jobs and tasks, as the basic implementation only runs the automation agent. Users of Ghost Solution Suite 2.x should note that a third-party PXE solution, 3COM Boot Servies, was included with that version.
In Ghost Solution Suite 2.x, boot images for 3COM Boot Services PXE could deliver both a console client boot (for console-based tasks), or simply a basic Ghost boot disk that launched the Ghost executable. This latter setup was a very popular one and is used by many imaging administrators. Configuring the PXE server in Ghost Solution Suite 3 to deliver a basic boot image is possible, though it takes a few additional steps. This document will show how to do this.
Prerequisites: The Ghost Solution Suite 3 console must be installed with HF2 or later, and WinPE must be imported. For information on this, please refer to this article.
1. Open the Ghost Console. Then click on Tools > PXE Configuration.

2. The PXE Configuration Utility will launch. Click File > Choose PXE Server.

3. Choose your server's name from the list; Shared Configuration must NOT be chosen. Click Open.

4. Click "New...".
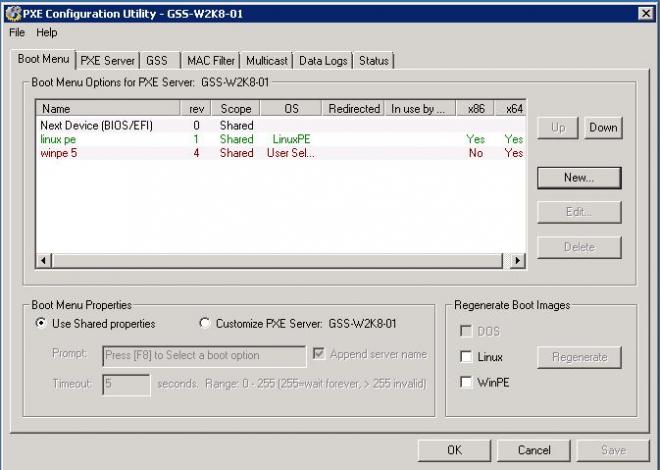
5. A windows called New Server Specific Menu Option will launch. Give it a name, and then select the options as seen in the image below (WinPE, x64 only, Boot Disk Creator).Then click Create Boot Image.

Note: This article assumes the use of a 64bit boot environment. Scripting we use later will assume 64bit is selected.
6. When the Boot Wizard launches, it will show Step 1 of 12: Configuration Name. Click Next.

7. Click Next on Step 2 of 12: Windows PE Hardware Device Drivers.

8. Click Next on Step 3 of 12: TCP/IP Protocol Settings.

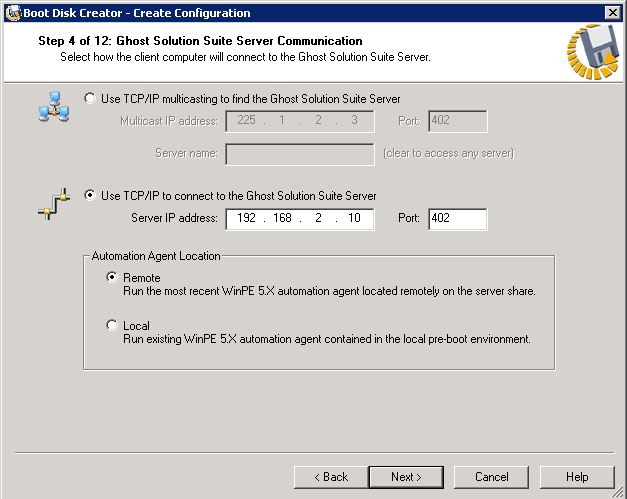
9. Click Next on Step 4 of 12: Ghost Solution Suite Server Communication.
10. Click Next on Step 5 of 12: Network Connection.

11. On Step 6 of 12: Network Drive Mappings, uncheck "Create an entry in the LMHOSTS file...". Then click Next.

Note: If you use mapped drives for imaging, you may define drive mappings here. More on this process here.
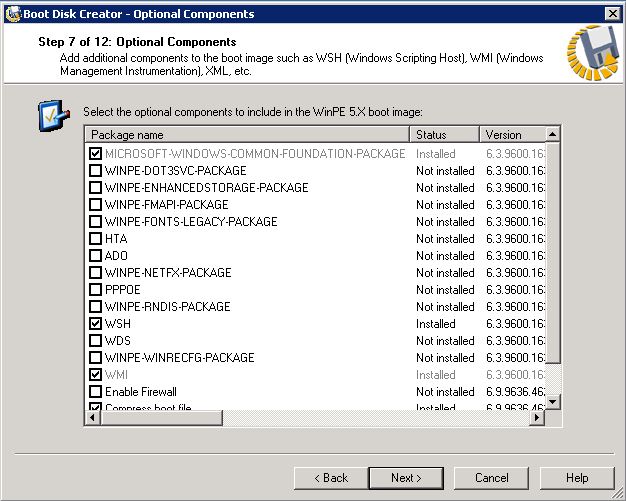
12. Click Next on Step 7 of 12: Optional Components.
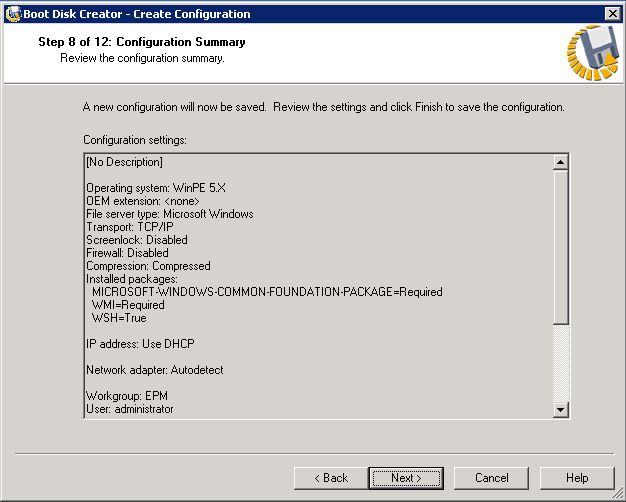
13. Click Next on Step 8 of 12: Configuration Summary. This will launch the Boot Disk Creator.
14. On Step 9 of 12: Edit Configuration, click on startup.bat. In the right pane, the text of this file will be editable. Under :UserActions on a new line, type the following (as shown in the image below):
m:
cd ghost
ghost64.exe -ib
Then click on the save button (floppy disk icon) above Configurations. Click Next.
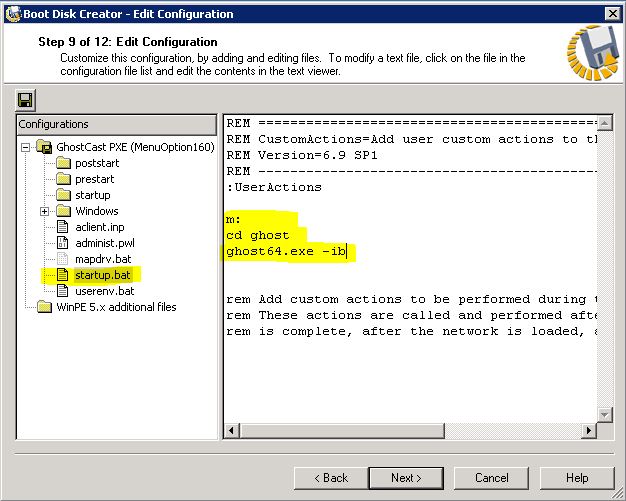
Note: The command line above uses the default drive mapping of M for the deployment share (version of Ghost Solution Suite HF2 or later will use M:). This changes the directory to Ghost and uses the Ghost64.exe in that folder (which will always be the latest version of the executable). The command line switch -ib is added that collects the boot track as part of the image.
15. On Step 10 of 12: Boot Disk Media Type, click the option Network Boot. Click Next.
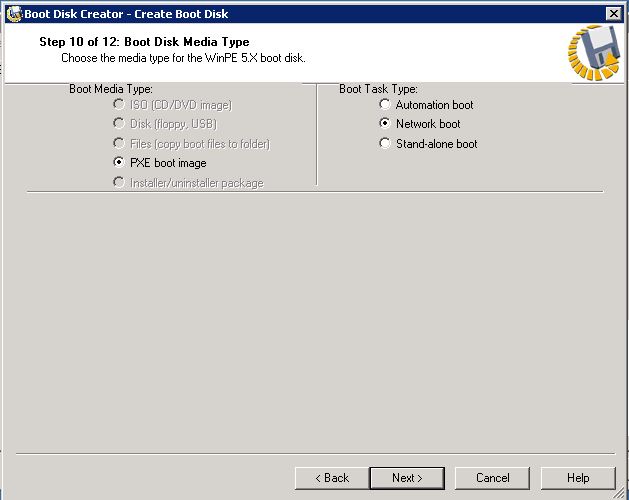
Note: If the only option present is 'Automation Boot', this means that steps 2 & 3 were not followed. 'Network Boot' is only an option on server-specific PXE configurations.
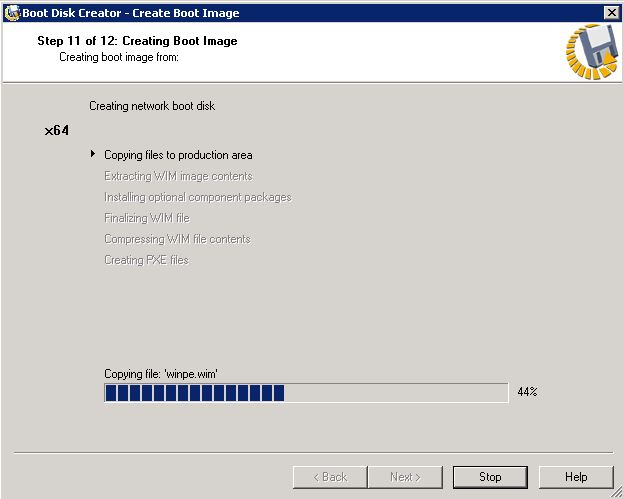
16. Step 11 of 12: Creating Boot Image will show the progress on the creation of the boot image. This process will take several minutes.
17. After the boot image creation finishes, it will launch Step 12 of 12: Boot Disk Creation Complete. Click Finish.

18. Click OK on the New Shared Menu Option window.

19. Click Save on the PXE Configuration Utility.

Now you have a PXE boot image that will launch the Ghost executable. This can be used in place of a boot disk for image creation and image deployment for the Ghostcasting mthod.